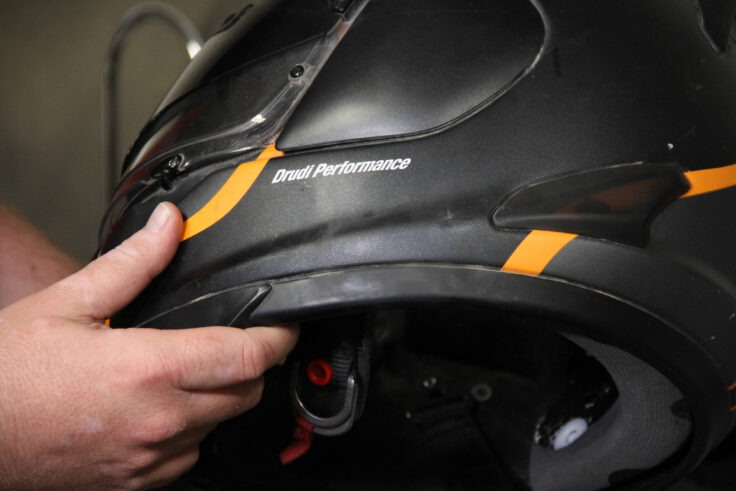
The helmet liner is the best fabric that is made of dense foam and covered with a material that absorbs moisture. It is fixed inside a helmet, acting as shock absorbers between the shell of a helmet and the head.
Without the liner, wearing a helmet would be quite uncomfortable. Also, it helps to shape the helmet’s head, preventing movement and secure it when it is strapped.
When you wear it during the hot day or for long, it will be dirty and get sweat, which will give a bad smell. This calls you to wash it. Some come with non-removable helmet liner that has a unique way of washing. Depending on the amount of sweat and weather, you may want to wash it after one ride. Here is how cleaning non-removable helmet liner is done.
Check the washing instructions label

Before anything, you need to check the washing instructions label. You can probably wash it with your regular towel but check first. There are others which you can clean using the washing machine. Because of the dirt and sweat’s size and level, choose the method that can go as per the instructions. The instructions will also give you the time you will take when cleaning.
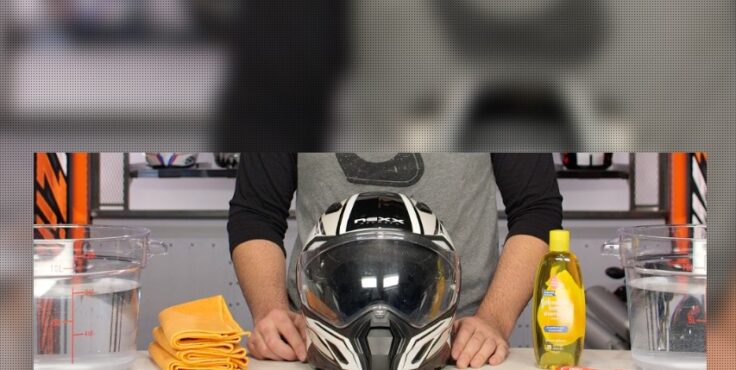
Soak the towel inside the water and detergent
You need to get a towel and put it inside clean water. Put some drops of detergent inside the water and rinse it for some minutes. Once the cloth has been soaked with water and soap, it will be ready to clean non removable helmet liner.
Soak non removable helmet liner inside a bucket
Fill the bucket with water that can make the entire helmet to submerge inside. Add a full cup of mild detergent like Woolite and then stir to form a solution. Then remove the helmet shield and sink it inside the solution.
Make sure the helmet remains inside the water for a few minutes to allow the solution to leak slowly through the liner. This will help the dirt and sweat to detach from the liner loosely.
Use the towel to clean it

When the helmet liner is thoroughly soaked in water, make your towel ready to start cleaning. Gently press the cloth to it back and forth as you squeeze the water, starting from the end of the loner. Do not worry about squeezing it, for it is okay because it is made of soft upholstery material. Every time you press the water, rinse it to the solution and then continue cleaning it.
Before you go to the other parts, make sure the layer you are cleaning has changed the color, which means all the dirt and sweat are entirely removed. The whole cleaning process will depend on the level of dirt and sweat the liner is holding. Make sure when you want to stop cleaning it, the helmet liner has become clean, and all the dirt is removed. If you are satisfied, remove the helmet from the bucket and pour that solution.
Put the clean water inside the bucket
Once the water you have used to clean it has been poured, put clean water that will make the helmet submerge inside. Put the helmet liner inside the bucket and allow it to absorb the water to about two to three minutes. Use a new towel that you will use to rinse it using clean water.
Gently squeeze and rinse the cloth to the liner and water. Do it until it is thoroughly cleaned and you are satisfied. After that, do the final squeezing and rinsing until all the freshwater has come up.
Make the liner dry
Place the dryer sheet like the bounce at the bottom of a helmet. Lay it on its back and side and aim the fan and not the blow dryer or any other heated air to the bottom of a motorcycle helmet. Blow the air from the dryer to the liner to dry the water.
You can also place it on the side with the liner facing on the sun to get direct sunlight. Leave it on the sun until it is dry. At this point, the helmet liner will be clean and be ready to use when riding. Also, if possible, you can spray it will with the smelling product to make smell nice.

