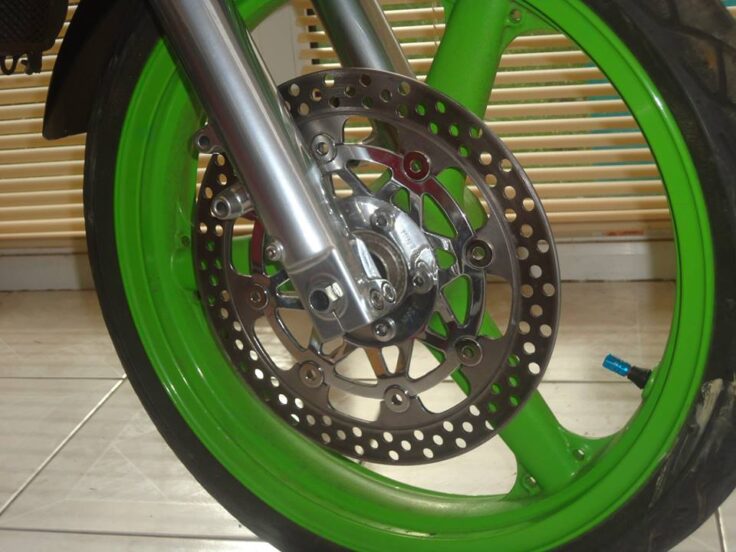
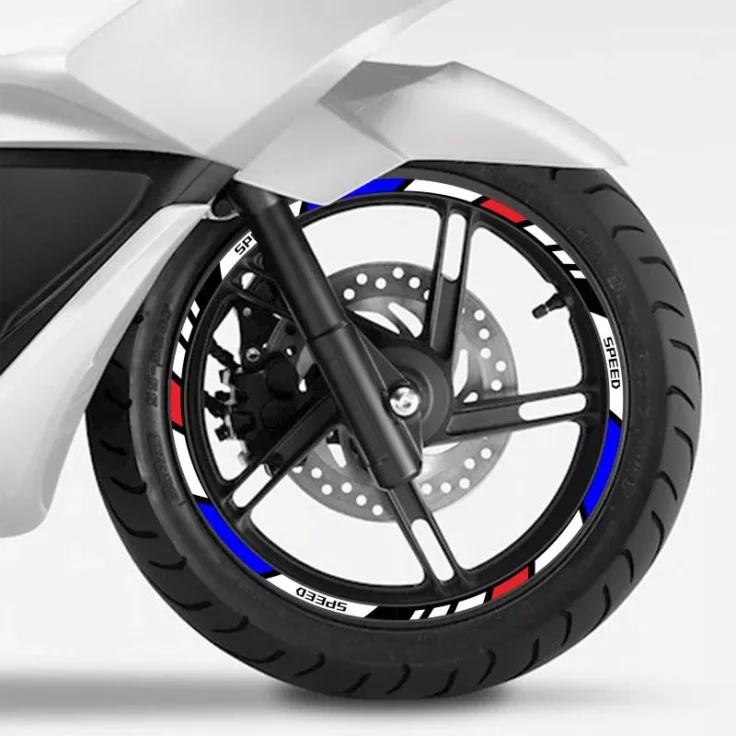
Painting motorcycle rims can be fun and quite challenging at the same time. You need to make sure that you have all the various implements that would be used on hand before you begin and also ensure that you take extra care when handling the items during the painting process. Here is the complete guide on how to paint motorcycle rims.
List of things you will need to paint motorcycle rims:
- Matt Paint
- Tools to remove rims
- Tarp / Newspapers
- Mineral Spirits / Nail Polish Remover
- Paintbrush
- Masking Tape
- Sandpaper
Steps To Paint Motorcycle Rims

There are certain steps that you must follow when painting motorcycle rims in order to achieve a uniform saturation of the paint and come up with a shiny rim. As a first step, you will need to buy a matt paint. This is a better alternative to bright paint due to its stickiness. Also, for a glossy finish, make sure that you go for a gloss clear coat.
Begin by removing the rims from your motorcycle and setting it aside. You can place a tarp or some old newspapers underneath the rim to protect the floor from the paint, then arrange your work implements by keeping them nearby and within your reach.
Next, take off all the stickers on the rim. You can use mineral spirits or a nail polish remover to do this. Simply apply the nail polish remover to a small rag and use it to wipe off the stickers and the leftover glue. Use a paintbrush to put on the aircraft stripper then take a rag and use it to wipe off the loosened layers of paint until all the paint is wiped off completely from the body of the rim.

You may then wash the rim under a shower and wipe it dry using a clean towel. Then you take some straws, measure the length of the spokes with the straws and cut them out accordingly. Ensure that the straws are matching the spokes in width and in number as well, then you cut along the straws and wrap them around each spoke until they are all fully covered.
Next, you use a masking tape to tape off each one of the spokes, including every area of the rim that you don’t intend to paint. Ensure that the straws are wrapped tightly around the spokes and use the masking tape to cover any open areas including the middle chest of the rim.
Take the rim and place it in a well-ventilated area and make sure that the tarp or newspapers are secure in place around the spraying direction of the paint. Start by using the spray rattle can of primer to spray a thin coat of paint along the entire surface of the rim. Leave it to dry, after which you can use a wet 1000 grit sandpaper to filter out any blemishes in the paint. Repeat the process again one more time and use the sandpaper again where necessary until you have achieved your desired product.
Next, use the spray rattle can of colored paint on the entire surface of the rim until it has been completely covered. Leave it to dry, then you use a wet 1500 grit sandpaper to remove any bubbles in the first coat. Apply a second coat of color and allow to dry. Then use a wet 2000 grit sandpaper on the second coat. Spray the clear coat on the second coat of color and allow it to dry and use a wet 2000 grit sandpaper on it. Repeat the process 2 more times and allow it to dry. The result is a shiny smooth surface.
After the rim is dry, you can then remove the masking tape and use a dry towel and a scratch removal wax to make the rim shiny and well secure. You may then replace the rim back onto your motorcycle, thus concluding the process of painting motorcycle rims.
Here is a video on how to pain motorcycle rims:

