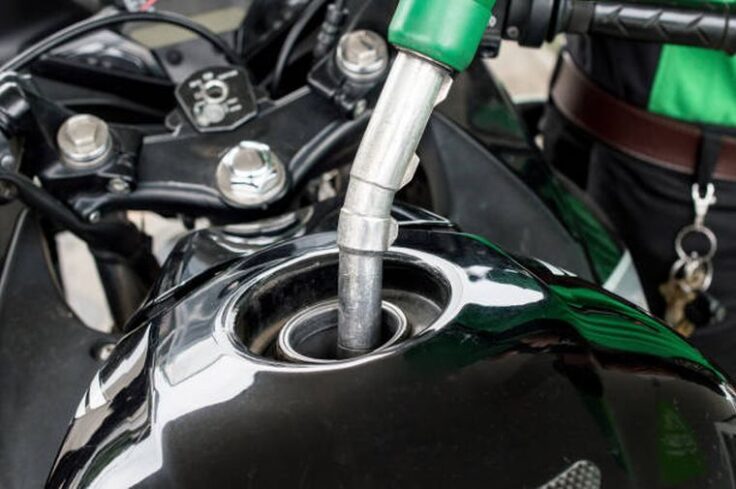
Do you know that your motorcycle gas tank should be maintained clean at all the time? Remember, this tank is positioned at the front side of your car, and hence keeping it clean will not only improve the car appeal but also make it presentable.
However, due to severe environmental conditions such as humidity and hot air temperatures, the tank gradually starts to rust, thus reducing its attractiveness.
Move over; fuel formulations have been alternated significantly by adding some corrosive metal that catalyzes the rusting process on your motorcycle gas tank. With all these factors in mind, rusting has become an inevitable threat to most car parts, particularly the gas tank.
It is, therefore, imperative to learn a few gas tank cleaning tips since it will not only save you from changing your vehicle filters regularly but also enjoying a smooth ride.
Although the gas tank cleaning process may seem very easy, it is not that easy as you may think. However, with some dedication, you will save your motorcycle gas tank as well as maintain the entire motorcycle wellbeing. For better outcomes, it is highly recommended to start your cleaning process by analyzing the factors contributing to the rusting process.
Here Is How to Clean Rust Out of a Motorcycle Gas Tank
1. Drain and remove your motorcycle gas tank at first

It can be quite frustrating to spend much of your time trying unsuccessfully to clean a gas tank that is far beyond repair condition. Note the cleaning process can vary from one gas tank to another since the degree of rusting also varies. By having your gas tank removed at first, you make it easier to the rusting percentage in all angles and hence enabling you to take the appropriate cleaning measures.
Note the rusting rate will dictate the cleaning action you will make. For instance, if a significant percentage has already rust, replacing can the best solution to avoid wasting much time and resources. Nevertheless, ensure you understand your gas tank-type by working closely with your mechanics and dealers to find if you can get a better replacing tank.
2. Rust abatement
At this point, you want to reduce or completely diminish the rust that has already accumulated inside your bike gas tank. Although there are three main methods you can choose from to clean your bike gas tank, they all give the same results. These are; Manual abatement, chemical reduction, or a combination of both.
3. Manual abatement

Manual abatement involves using an abrasive material to scratch and remove all accumulated rust deposits. Such material includes gravel, bolts, or nuts.
4. Chemical abatement
This method involves the use of reactive chemicals such as acids to react with the rust compounds, thus eradicating all rust formations.
A combination of the above two methods. Here the manual reduction is carried out first, then followed by the chemical method. Just as stated above, the method you should give you better results, although the level of accumulated rust can affect the outcome you get.
5. Gas tank preparation stage
Preparing the tank for cleaning is the first step. For instance, you have empty any fuel in the container as well as sealing all the holes that would otherwise spill out your cleaning chemicals during the thorough cleaning process.
In most cases, silicone plugs or the vacuum caps are the most common sealing agent’s although this depends on the type of your container. For instance, some gas tanks have petcocks while others have crossover tubes, and this means you have to choose the most appropriate sealing agent that fits your container. Remember, you might end up making mistakes for the first time cleaning, but life is all about learning.
6. Ensure you have gas masks or clean your gas tank in a fume chamber or an open air space
Remember, if you choose to clean your gas tank using the chemical, method, toxic gas fumes will be produced, and they can cause risk factors in your health.
A well-ventilated room or an open-air space is more preferred since there is plenty of supply of fresh air in and out, unlike an enclosed cabin. Wearing appropriate gears such as gas masks also can prevent you from inhaling poisons gases, which would otherwise cause breathing complications, unconsciousness, headaches, nausea, or other severe health risks.
7. Check volatility
Before you commence your chemical cleaning process, ensure to check the chemical reaction between the cleaning agent and the agitator. By doing so, you are sure of protection from chemical reactions products.
8. The Cleaning process

After confirming the volatility test is safe for your gas tank cleaning activity, you can proceed to the abatement process. Ensure to follow these processes for better outcomes strictly.
9. Add acid
For better gas tank cleaning outcomes, adding acid should be the first thing to perform. It is essential to note that some acids are very corrosive and dangerous to handle with bare hands. For instance, the white vinegar is the most common type of acids used in the gas tank cleaning process, although it may take several days before you can proceed to the next step.
10. Add your agitator
Once you feel the acid has stayed enough time, it is the time to ass the agitator. Whether you decide to use a manual cleaning process, you should achieve better results without damaging your gas tank. It is recommended to use a handful of abrasive material indoor to ensure you scratch all areas of your gas tank.
11. Shake gently
Remember, you have already added both the agitator and the acid. Shaking the mixture gently but consistently will ensure all dust is completely removed. The shaking process can take several days for better results. You can use the clothing dryers instead of manual shaking.
12. Flush out the inside content
Now that your gas tank is spotlessly clean, you flee not to spill out inside content then followed by thorough rinsing with running water for some several minutes. After rinsing, ensure to neutralize the inside gas tank using the dish detergent mixed with hot water. Empty all this content and allow the tank to dry completely.
Conclusion
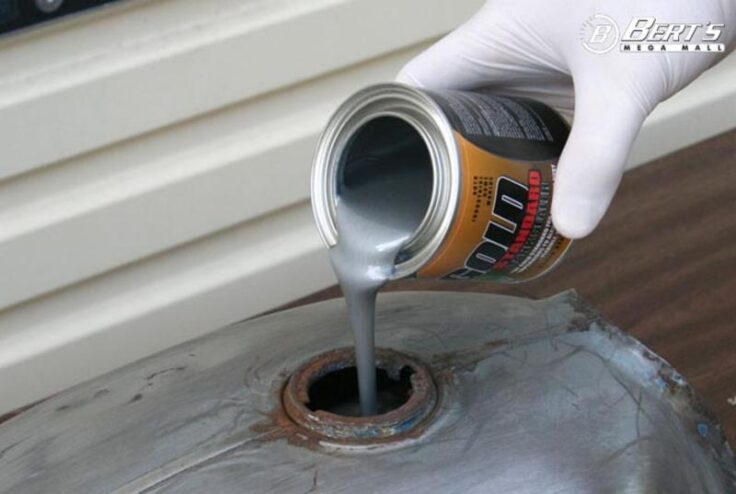
Finish cleaning the process. The finishing process depends on personal preferences. For instance, some individuals prefer using commercial tank sealers not highly recommended, especially if you are looking forward to using your rust-free task immediately.
A capable sealant should be a fuel soluble if you intend to use the gas task directly. You can sprinkler little kerosene all over the container to ensure better inward coating. An excellent finish process can provide the maximum safeguarding of your gas tank, therefore, prolonging its service life.

